Some calliper refurbishment pics 
First of all I took my very rusty calliper that I got from the scrap car at the weekend to work where I sandblasted it. I was left with the following.
 Not so rusty calliper
Notice that I paid particular attention to the bleed nipple and main hose. If you can clean as much rust and dirt from the threads before you start it makes it alot easier and you are less likely to break anything.
 Clean threads on nipples
These were loosened using a brake pipe spanner and a socket. As expected it was very easy as the threads were clean. If you cannot clean these up then I suggest alot of heat before attempting to remove the nipples. Otherwise you will round or snap them. This has worked for me on all the other callipers and I have 'yet' to break a bleed nipple
 Tools required
Next step is to get the piston out of the calliper. I find an old foot pump works well here. Push the end of the hose into the pump and pump like mad. The piston should pop out.
 My old foot pump.
 Pop !!
This leaves you with the following.
 Calliper and piston
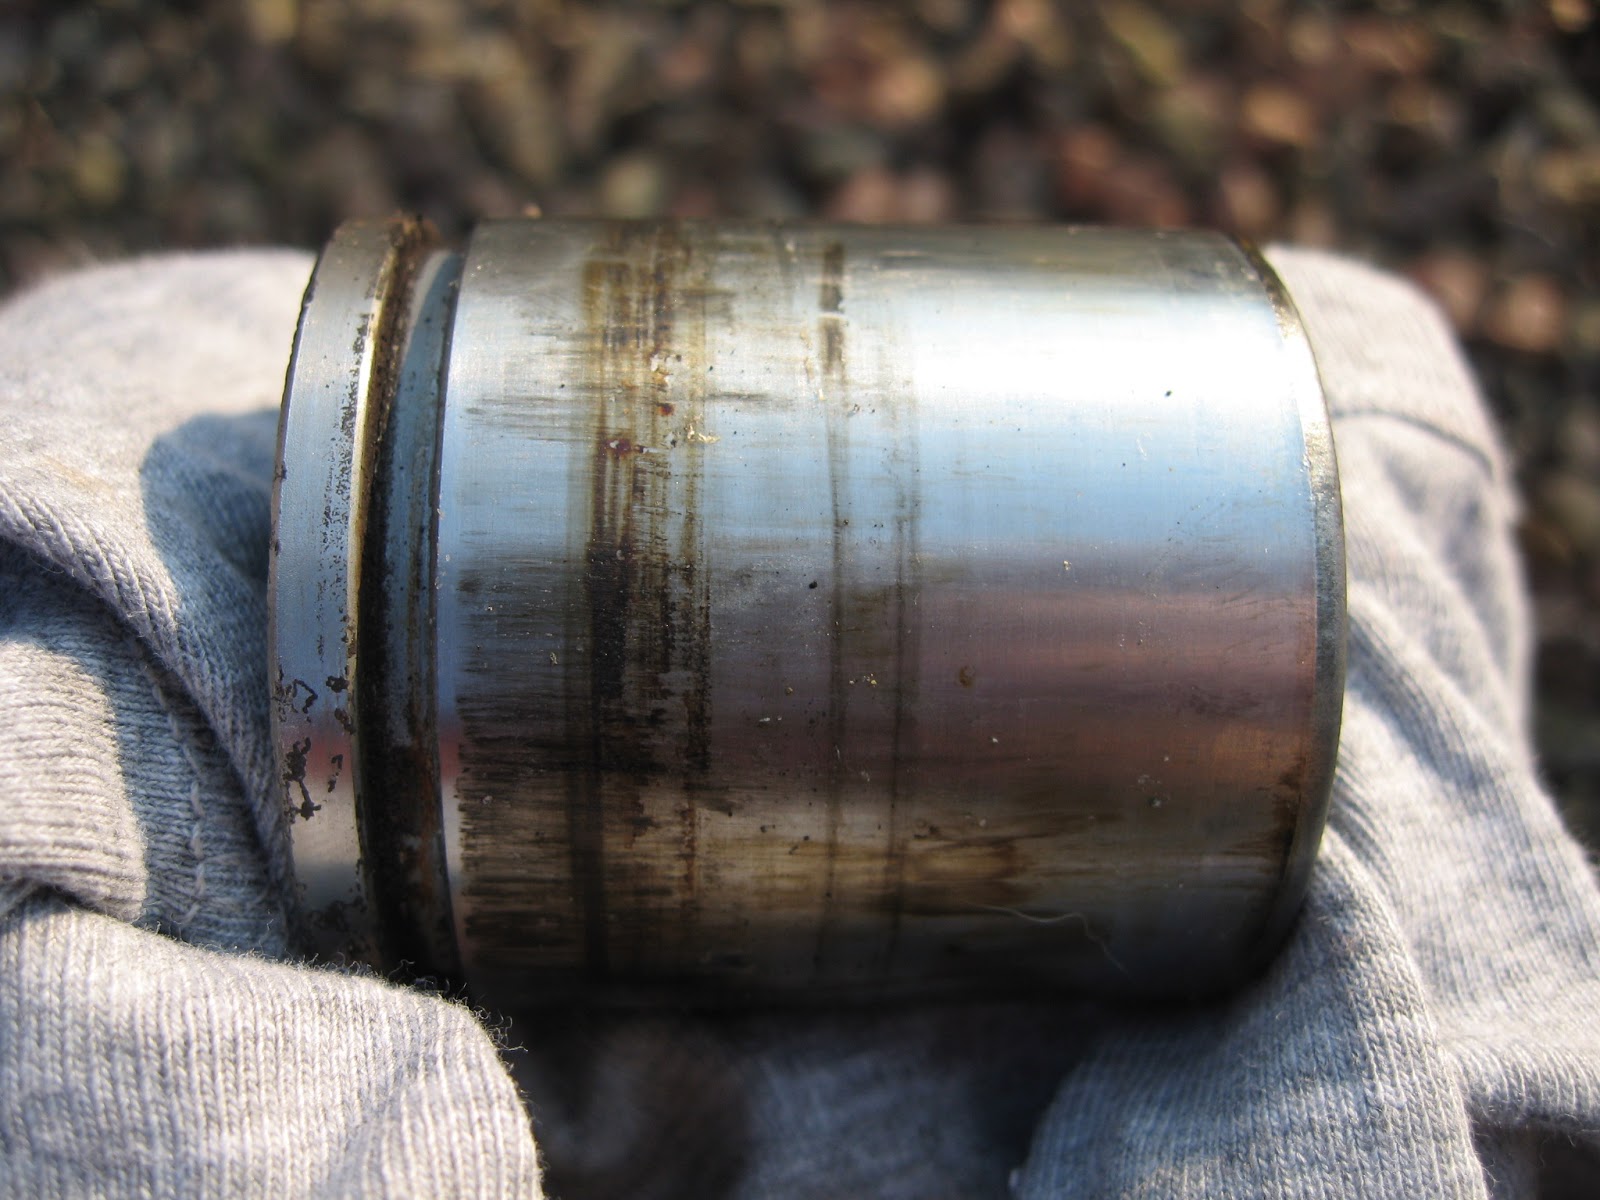
Inspect the piston for signs of rust and damage. This one was nice and clean but will require a little dressing on the seal groove especially.
 Piston before cleaning.
Following this remove the dust seal and inspect the calliper bore. In this calliper the seal was stuck in with rust and took a bit of getting out. The seal itself was intact but the rust over time can tear the seal and damage the bore.
 Dust seal removed
 The old dust seal.
It is important that all the rust in the seal groove is cleaned away before fitting a new seal. The calliper bore should be spotless. The piston seal in the bore should also be removed and replaced.


Notice that I paid particular attention to the bleed nipple and main hose. If you can clean as much rust and dirt from the threads before you start it makes it alot easier and you are less likely to break anything.

These were loosened using a brake pipe spanner and a socket. As expected it was very easy as the threads were clean. If you cannot clean these up then I suggest alot of heat before attempting to remove the nipples. Otherwise you will round or snap them. This has worked for me on all the other callipers and I have 'yet' to break a bleed nipple

Next step is to get the piston out of the calliper. I find an old foot pump works well here. Push the end of the hose into the pump and pump like mad. The piston should pop out.


This leaves you with the following.

Inspect the piston for signs of rust and damage. This one was nice and clean but will require a little dressing on the seal groove especially.
Following this remove the dust seal and inspect the calliper bore. In this calliper the seal was stuck in with rust and took a bit of getting out. The seal itself was intact but the rust over time can tear the seal and damage the bore.


It is important that all the rust in the seal groove is cleaned away before fitting a new seal. The calliper bore should be spotless. The piston seal in the bore should also be removed and replaced.

Dust seal and piston seal.
This lot all comes in a nice calliper overhaul kit from Peugeot. You get both seals. I have a bit of cleaning and painting to do before this lot is ready to go back together. Watch this space!!
Still need a rear passenger calliper if anyone has one kicking around???
This lot all comes in a nice calliper overhaul kit from Peugeot. You get both seals. I have a bit of cleaning and painting to do before this lot is ready to go back together. Watch this space!!
Still need a rear passenger calliper if anyone has one kicking around???
Posted 07 May 2008 - 06:09 PM
The caliper sliders come apart very easily. The following pictures are from the rear slider but you get the idea.


Notice the above picture the grease is clean, moist and there is no signs of corrosion. Look at the other side.

This side the grease is pretty dry and there are signs of corrosion. This was not seized but was on its way there. You get new grease, rods and rubbers with the overhaul kit so I will replace this lot as a mater of course.
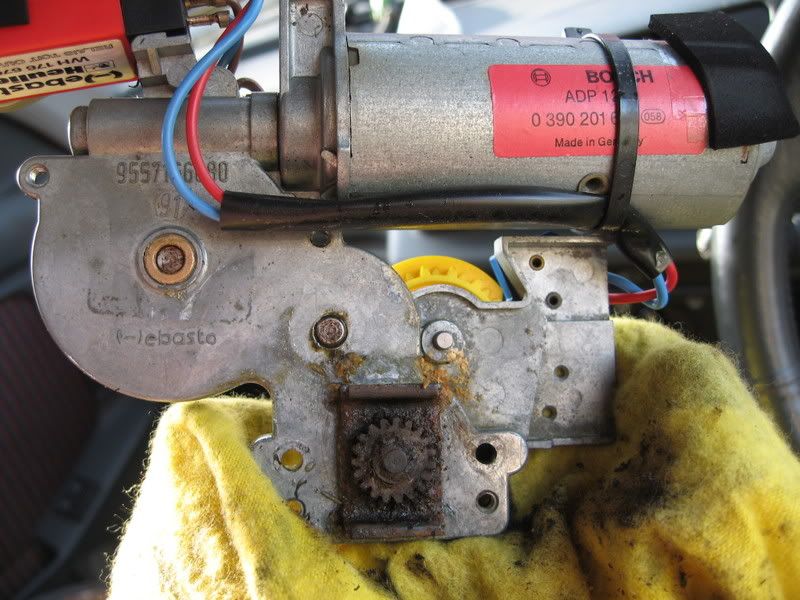
Prepped my calliper for painting last night too.

I have a couple of coats of Hammerite on now and will continue with more tonight. Cause its so hot in my flat today its not drying very well though
Posted 10 May 2008 - 10:25 PM
Had a reasonable weather day so I was quite busy.
Got my rusty rear calliper and took it to work along with my failed attempt at painting my wiper arms. I blasted these back to bare metal and the calliper looked great!


Set about checking out the calliper. I had unfortunately managed to get some blasting grit under the seals so I had to strip it. I have the overhaul kit so I am well to use it.
Stripping a rear calliper is a wee bit different to a front. It has a threaded rod inside (which is why you have to rotate it when pushing it back in if you have ever done your rear pads). So removing the piston is a case of putting the wind back tool on and winding the opposite way. The piston will just pop out. Then remove the dust seal and the piston seal for replacement.


Got this lot masked up and painted.

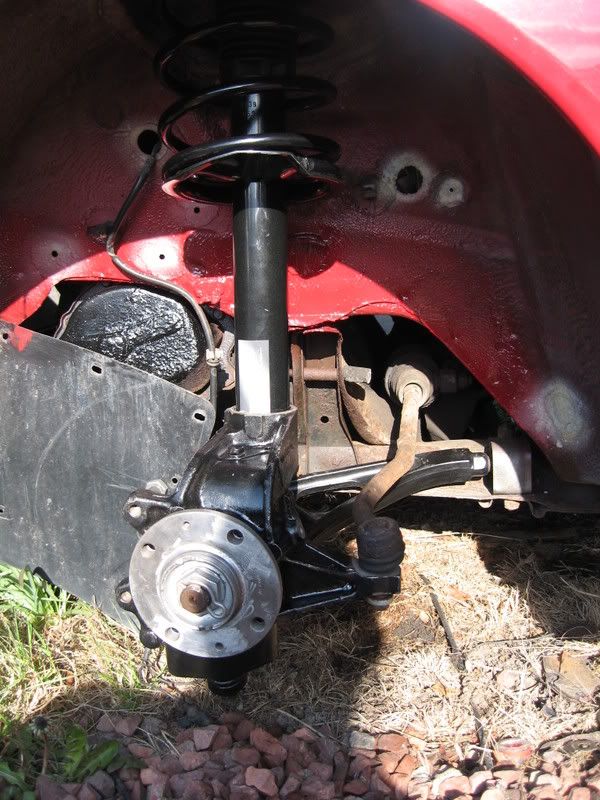
Meanwhile I put my front brakes back together. Note I still have a rusty old brake disk and pads. I intend on changing these but I want the brakes working for now so I can move the car onto the driveway. The eagle eyed among you may have noticed the car is on the front lawn so my brother can use the driveway. His MG ZR does not go up it so it sits empty so the 405 is going back over.

Still got to make up the new brake pipe. My pipe flaring tool is slightly bent and is making poor ends. Will see if I can get another die tomorrow.
Aim for tomorrow (assuming the weather holds out) is to get the brakes working and the car back on the drive. If I get that far I may give it a wee wash and get rid of some of the green moss growing on it
Posted 11 May 2008 - 09:48 PM
Had a productive day today. Mostly good points but a couple of extra issues to sort out.
Started off by finishing rebuilding the rear brakes.


Next I put on my nice shiny painted window wiper arms. What a difference they made.

I then proceeded to bleed the brakes. I purchased I Gunson one man bleeding kit. Never seen one like this before. Basically uses pressure from a tire to pressurise the brake system at the cap to enable you to go round each wheel and just open the bleed nipple. Worked well on the front brakes but did not do a thing at the rear. I suspect my compensator valve is closed at the rear. I need a spring for it but they only sell the whole thing. It costs around £70
Whilst poking around at the front brakes I noted that I have managed to catch a bottom ball joint whilst fitting. Bugger. That will have to be replaced for the MOT. Noticed as well that I had not tightened the other side. Found out why. It appears that that balljoint is the wrong size. That will be 2 new balljoints then please. I hope I get them undone on the car. Don't want to have to take the hubs off again.
Anyway the front brakes working enabled me to move the car back onto the driveway. This will make jacking alot easier in future. The brakes did not have any feel at all though. Suspect its cause of all the air in the system at the rear. Need to sort that out.
The car run reasonably well although it does sound a wee bit off at idle and all the stop lights flash. The dash does not read the water temp either. As well as this the thermostat housing bleed screw needs replaced. Job for another day. Here is a wee video of it running.
Next I decided to give the thing a wee wash and make it look like a car again rather than a greenhouse. Some before and afters.


This was a very rough wash. Will clay it and give it a right good going over once its a bit more together.
What to do next ....
Posted 12 May 2008 - 08:27 PM
Had a mess about tonight trying to bleed the rear brakes after reading some tips I found earlier using the search. Got a wee bit fluid through to the back but not enough to do anything. Will have to get the new compensator I think.
Whilst I was under there I was shocked by the amount of rust at the back. That will need some serious work to sort out. Considering dropping the rear axle to improve access to do a good job of it. Will give me the opportunity to get that painted too.
Took it for a little spin 50 yards up the road and back. Brakes worked (the front ones anyway) but the engine definitely is not right. That will be a bugger to fault find I think.


